Cleaning is a pretty standard activity but there are actually many different methods of cleaning. Cleaning procedures can differ depending on your work type, chemicals, and materials. Or how messy your coworkers are.
In most workplaces, effective cleaning is essential to protecting the health of staff and the public. If your workplace doesn’t have specific cleaning procedures, there is a general set of steps you can follow. Six of them, in fact.
In this article, we’ll go over the six stages of cleaning. Following these fundamental cleaning procedures will ensure your surfaces and equipment stay hygienic and safe.
Is it really so crucial to keep things sparklingly clean at work? Our ancestors didn’t have scrubbing brushes, sponges, or chemical cleaners, did they? Isn’t all this fuss over cleaning just a little over the top?
Not at all. Cleaning is vital to keeping all workplaces free of germs, bacteria and disease. After all, our ancestors were constantly suffering from nasty plagues and diseases!
When we think of workplaces where standard cleaning procedures are necessary, the first sectors that come to mind are the healthcare and hospitality industries. But following a strict set of cleaning procedures should be a priority for every type of business.
Having good general cleaning procedures can help to stop the transmission of health risks like:
- Influenza and the common cold
- Covid-19
- Food-borne viruses like salmonella, E-coli and Campylobacter
- Food allergens
- Blood-borne infections like hepatitis or HIV
- Infections like staphylococcus aureus (Golden staph)
As well as preventing the spread of disease and illness, implementing effective methods of cleaning at work is actually a legal requirement.
Section 9 (1) of the Workplace (Health, Safety and Welfare) Regulations 1992 states that
“Every workplace and the furniture, furnishings and fittings therein shall be kept sufficiently clean.”
The regulations say in 9 (2),
“The surfaces of the floors, walls and ceilings of all workplaces inside buildings shall be capable of being kept sufficiently clean.”
Keeping your workplace clean will help avoid illness and the hefty penalties for breaching health and safety laws.
You might think that your workplace is clean enough. It might look clean. But it’s worth noting that research found the typical office desk has more than 20,961 germs per square inch. A keyboard can harbour more than 3,200, a mouse over 1,600, and an office telephone can hold a staggering 25,127 germs per square inch. An office toilet seat has just 49 germs per square inch.
Eww, right? We know.
All these horrible germs, microbes and bacteria can quickly travel through a workplace and make many people sick. Germs from dirty tables or doorknobs in offices, hotels or healthcare facilities can infect up to 60% of staff in just a few hours, according to a study from the University of Arizona.
Luckily, the same study found that germs, bacteria, and microbes can be eliminated just by following fundamental cleaning procedures. Ensure you adhere to the six stages of cleaning, and you’ll stop those nasty germs from spreading in your workplace.
Based on industry best practices and scientific research, the six stages of cleaning are meticulous cleaning methods that effectively eliminate dust, grime, and germs.
If you’re tired of your desks, tabletops and telephones being dirtier than a toilet seat, follow this process of cleaning:
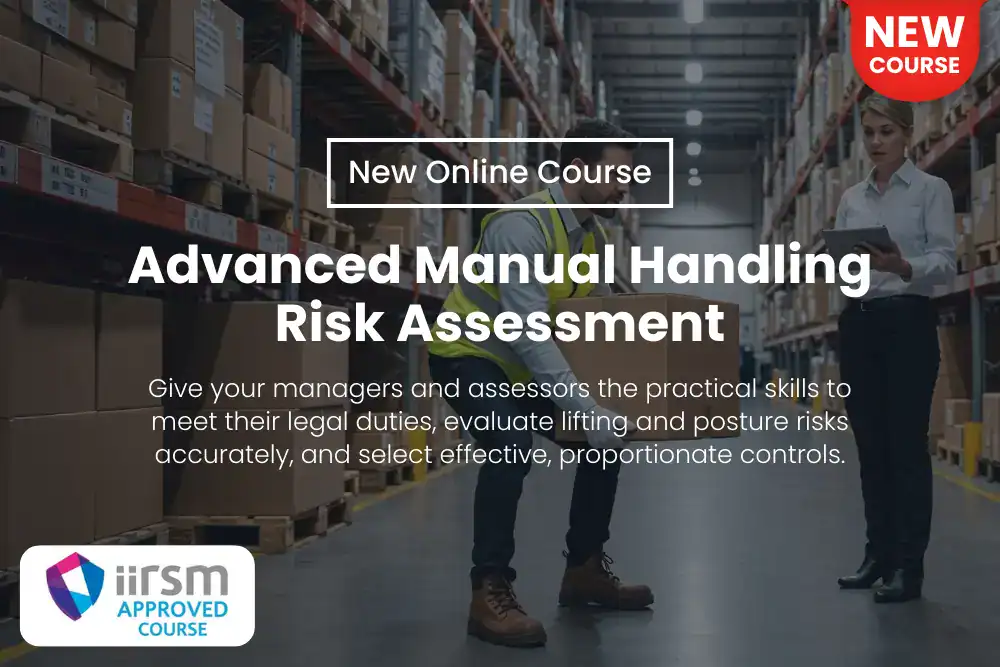
Firstly, do a quick visual inspection of the area or object you’re cleaning. If it’s a big job, you might need to conduct a systematic cleaning risk assessment.
Once you’ve assessed the area, it’s time to work. Remove any large objects. Remove debris or loose substances like dirt, dust or crumbs. If it’s a flat surface, sweep the area clear. If not, run a sponge, cloth, or disinfecting wipe over it.
Next, you’ll need to remove any built-in grime, dirt, grease or other substances that didn’t shift during the pre-clean. Use clean, hot water and a detergent. In some cases, you can remove substances immediately with this method. In other cases, you might need to leave the detergent to settle before wiping it off.
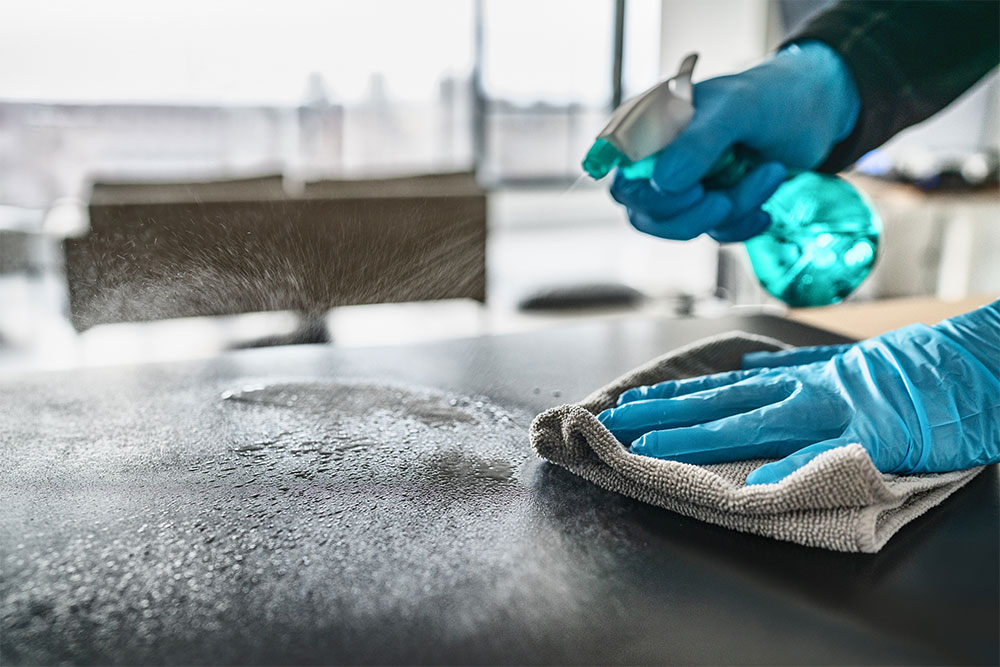
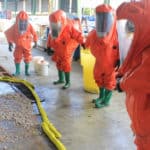
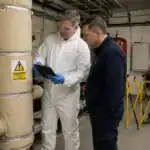
Use the correct personal protective equipment (PPE), like plastic gloves, aprons, or eyewear. Some cleaning agents are pretty strong, so read the manufacturer’s instructions carefully and follow them to the letter. Suppose the cleaning agent you’re using is powerful – read the manufacturer’s instructions to ensure it won’t damage the surface you’re cleaning before applying it.
If using an industrial-strength cleaning agent, ensure you know of any risks and follow the Control of Substances Hazardous to Health Regulations 2002 (COSHH) guidelines.
After you’ve completed the main cleaning stage, you must remove the loosened grime, sludge and detergent suds. Rinse well with hot water and then wipe with a cloth, mop or a rubber squeegee.
This stage is where you attack those horrible little germs and microbes. Disinfect the surface or object by using a chemical disinfectant. This could be an antibacterial spray or wipe or require a more potent industrial disinfectant. Keep your PPE on whatever you use and follow the disinfectant manufacturer’s instructions.
The second to last step in the cleaning process is to rinse the object or area you’re cleaning. Hot water is preferable, and you should also have a mop or cloth to wipe the area once you’ve rinsed it.
Take note that you might not always need to perform this step. Again, check the instructions on the disinfectant you’ve used.
The last step is thoroughly drying off the area or object you’ve cleaned. If you can, let the area or object air dry. Air drying usually takes a few minutes to half an hour, depending on the temperature of your work environment.
If air drying isn’t possible, using single-use only drying cloths is best. Don’t reuse drying cloths, as they can harbour bacteria and reinfect the area you’ve just cleaned.
And that’s it! Congratulations. You’ve completed all six stages of cleaning and thoroughly removed any bacteria or germs from your working area or equipment.
While “cleaning” can refer to processes that include more sophisticated steps, it usually does not mean sanitising or disinfecting. And these two terms (though often interchanged) also don’t mean the same thing.
Cleaning typically means removing visible dirt, dust and debris from surfaces. It includes things like wiping, sweeping, scrubbing and washing. Cleaning can involve the use of soaps and detergents.
Cleaning physically removes some germs, their sources, and the conditions that support their growth. But it does not kill germs. Unsafe levels of germs remain after cleaning.
Sanitisation specifically means removing germs from a surface. It includes actions like wiping surfaces with bleach solutions and spraying sanitising products.
Sanitising reduces the number of germs on a surface to a level recognised as safe. But it does not kill everything.
Sanitisation is useful in low-risk environments where absolute sterility is not required, such as kitchen counters or cutlery. Surfaces should be cleaned before sanitising.
Disinfection targets all germs. It includes processes that kill a wide range of bacteria, viruses, and other pathogens, such as the use of strong chemical agents, heat and UV light.
Disinfection is necessary in high-risk environments, such as when someone is sick, and for surfaces that carry a high risk of spreading disease, such as toilet handles, door knobs, keyboards, and other high-touch areas.
Disinfecting often involves aggressive chemicals that can kill nearly all types of microorganisms on a surface. They can be hazardous to health and the environment.
Cleaning often involves the use of hazardous substances. If you work as a professional cleaner or want to improve your cleaning skills, you should take a relevant training course.
Our COSHH Training for Cleaners will teach you to handle various chemical cleaning agents safely. After completing this course, you can maintain a super hygienic work environment without putting yourself or others at risk.