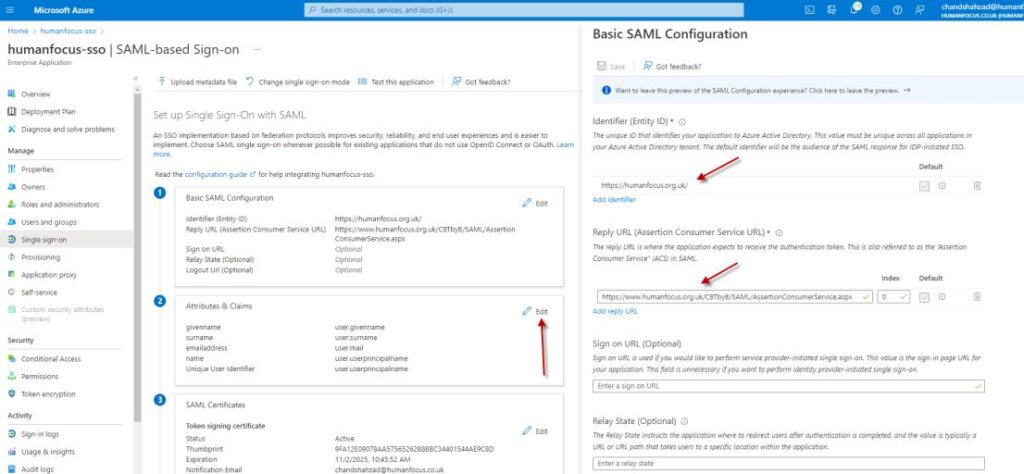
Identifier: https://www.humanfocus.org.uk/
Reply URL: https://www.humanfocus.org.uk/CBTbyB/SAML/AssertionConsumerService.aspx
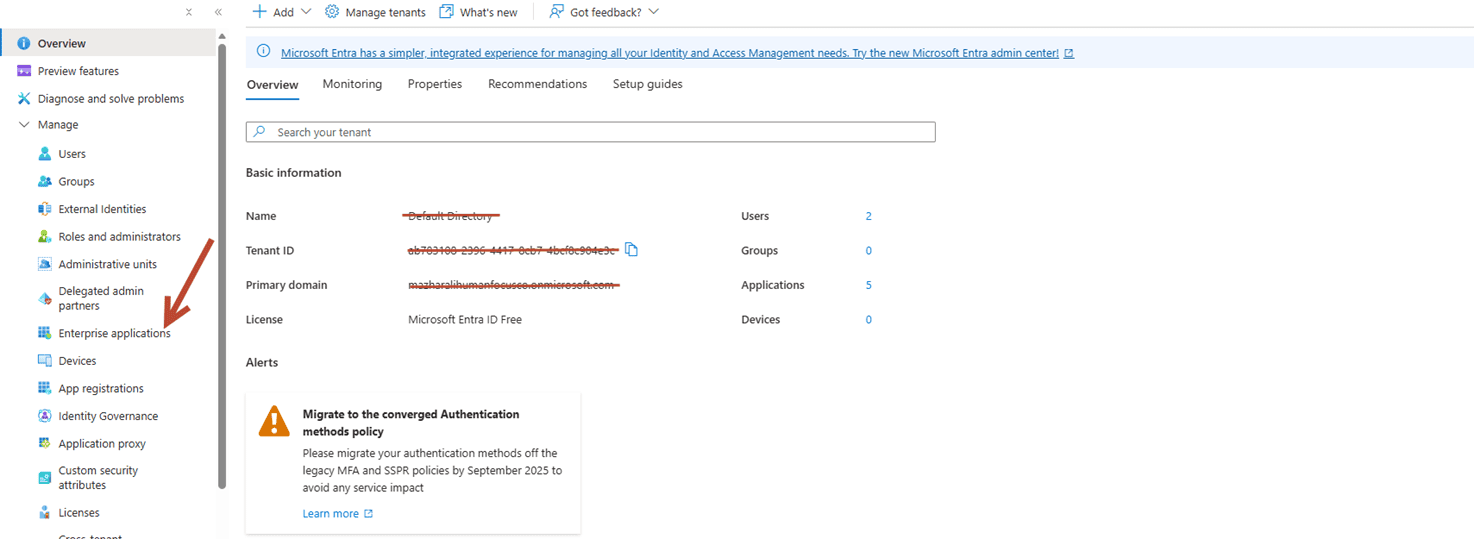
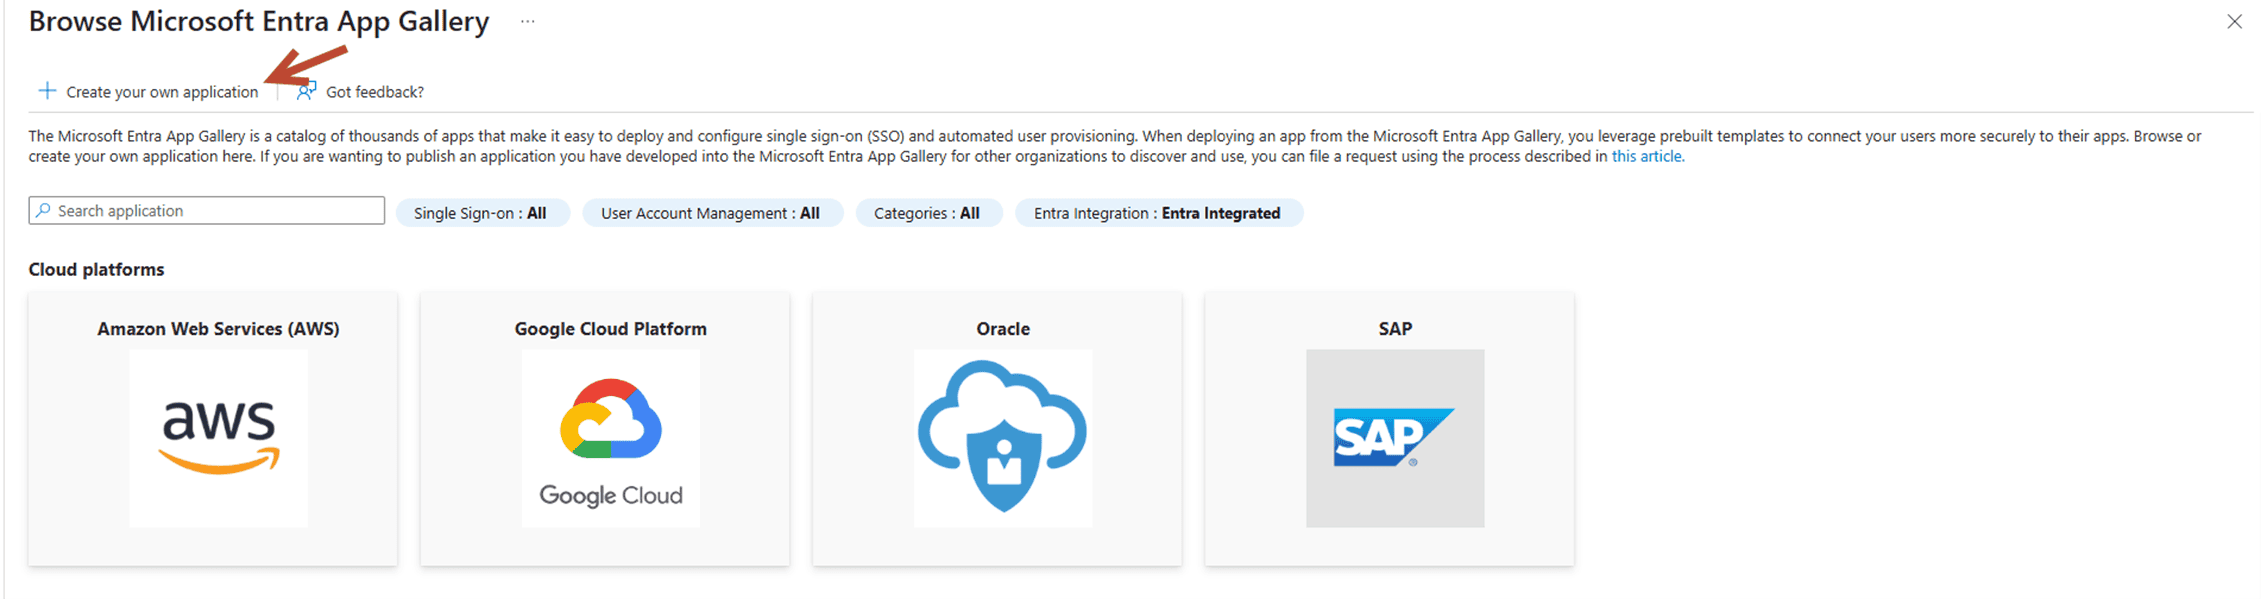
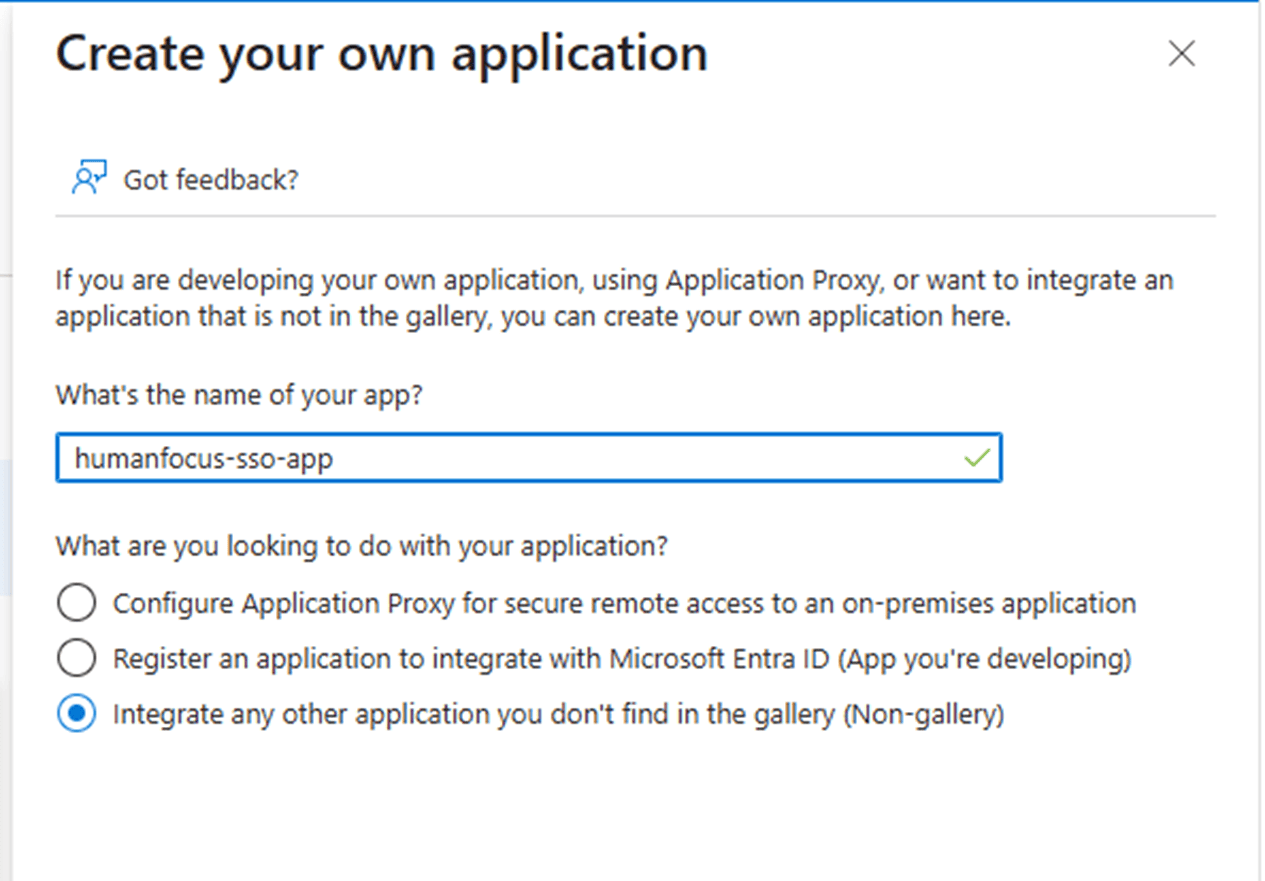
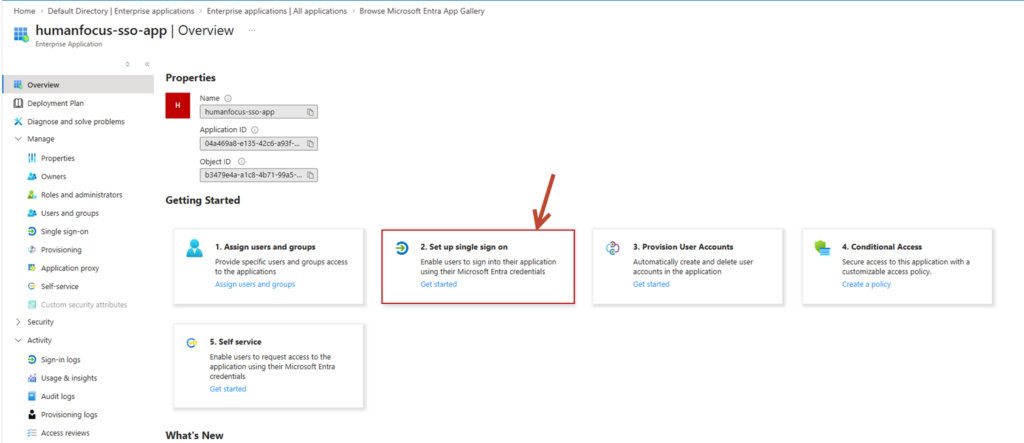
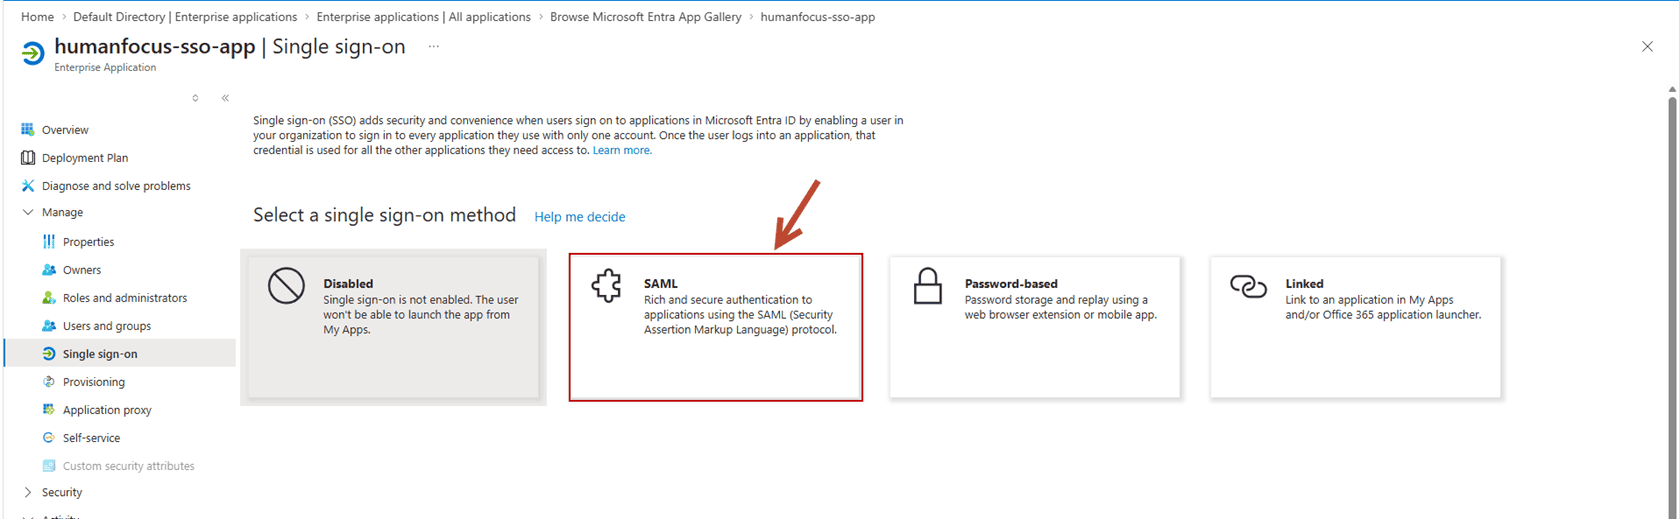
Please follow the below screenshots for Microsoft Entra to set up Single Sign ON (SSO) to Human Focus System.

Identifier: https://www.humanfocus.org.uk/
Reply URL: https://www.humanfocus.org.uk/CBTbyB/SAML/AssertionConsumerService.aspx
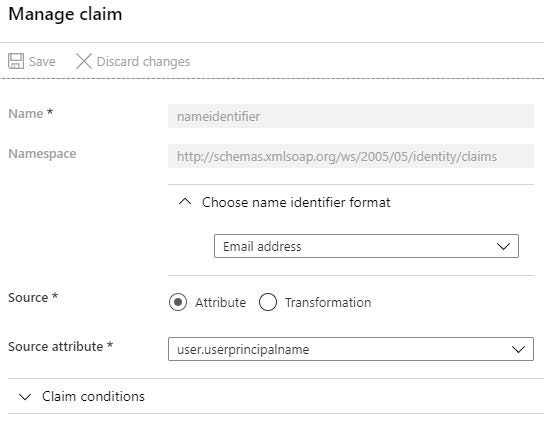
Under Claim Name, you will see the primary claim, Unique User Identifier (Name ID), with the claim Value set to user.userprincipalname [nameid-format:emailAddress]. On clicking this claim, you will find the following details on the Manage claim page:

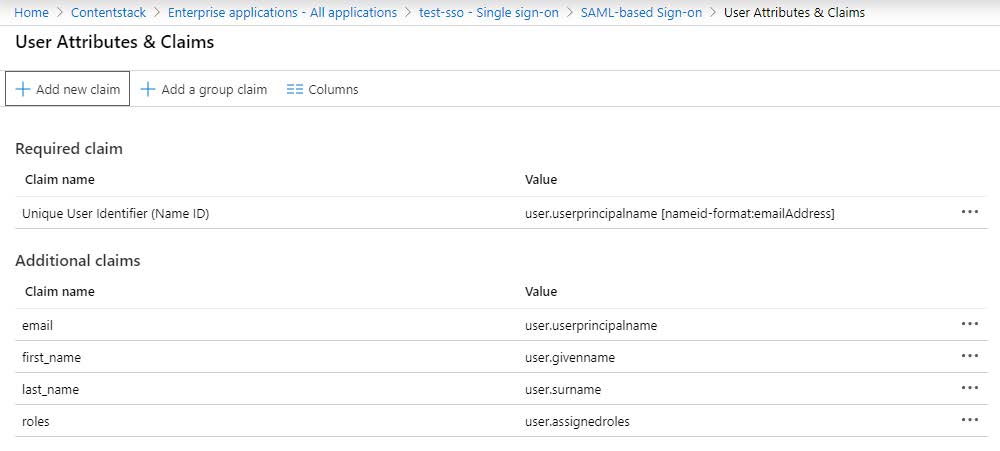
Close this page. Now, delete the default attributes that you see under the Additional claims section. We will be adding our own set of attributes.
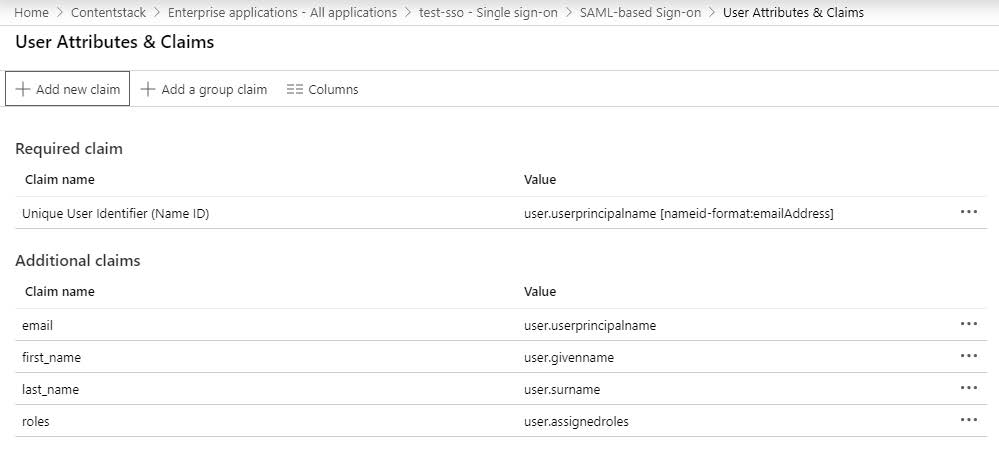
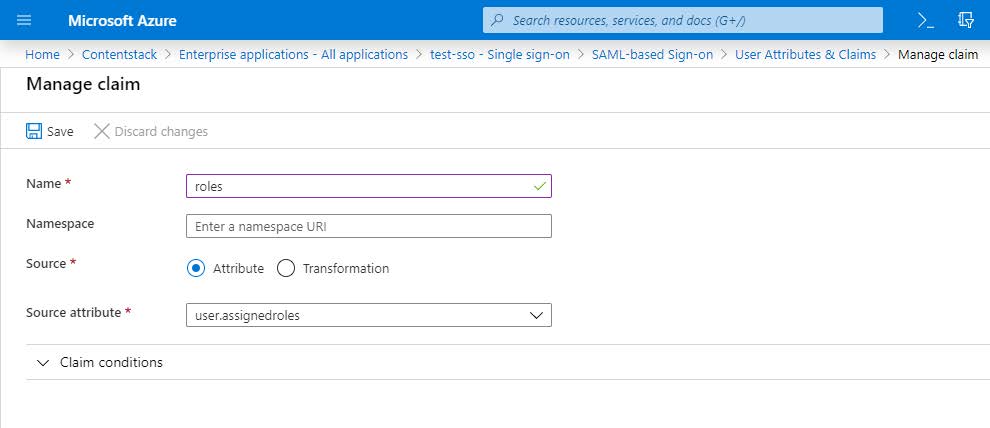
Now, to add your attributes, click on + Add new claim.
10. In the Manage claim page, enter first_name under Name, select user.givenname under the Source attribute, and click Save.
Similarly, add the following attributes:
| Name | Value |
|---|---|
| last_name | user.surname |
| user.userprincipalname | |
| roles | user.assignedroles |
If you want to enable Role Mapping in Contentstack, then it is highly important to add the roles attribute as we need this for IdP Role Mapping which we will cover in the next set of steps.
You will see the added attributes in the User Attributes & Claims section.
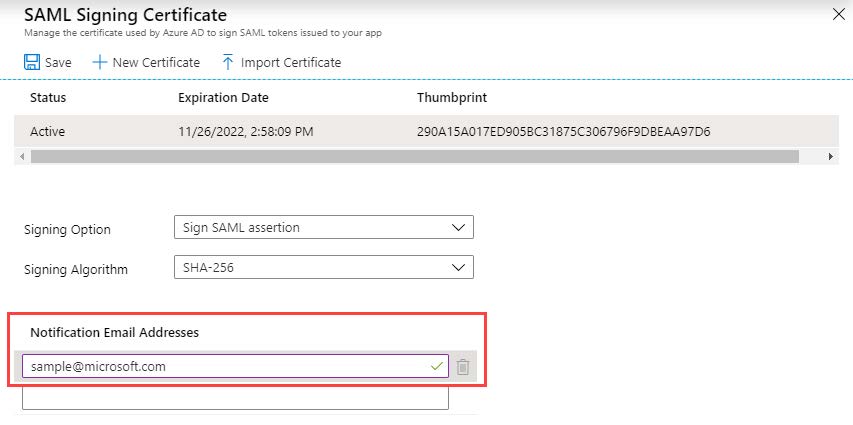
In the SAML Signing Certificate section, click the Download link beside Certificate (Base64). This will download and save the Base64 version of the certificate which need to be sent to Human Focus. If
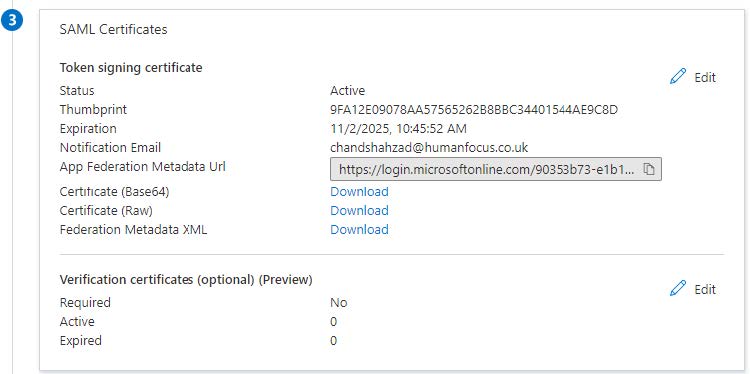
If needed, edit the Notification Email Addresses section, change the notification email, and click on Save.
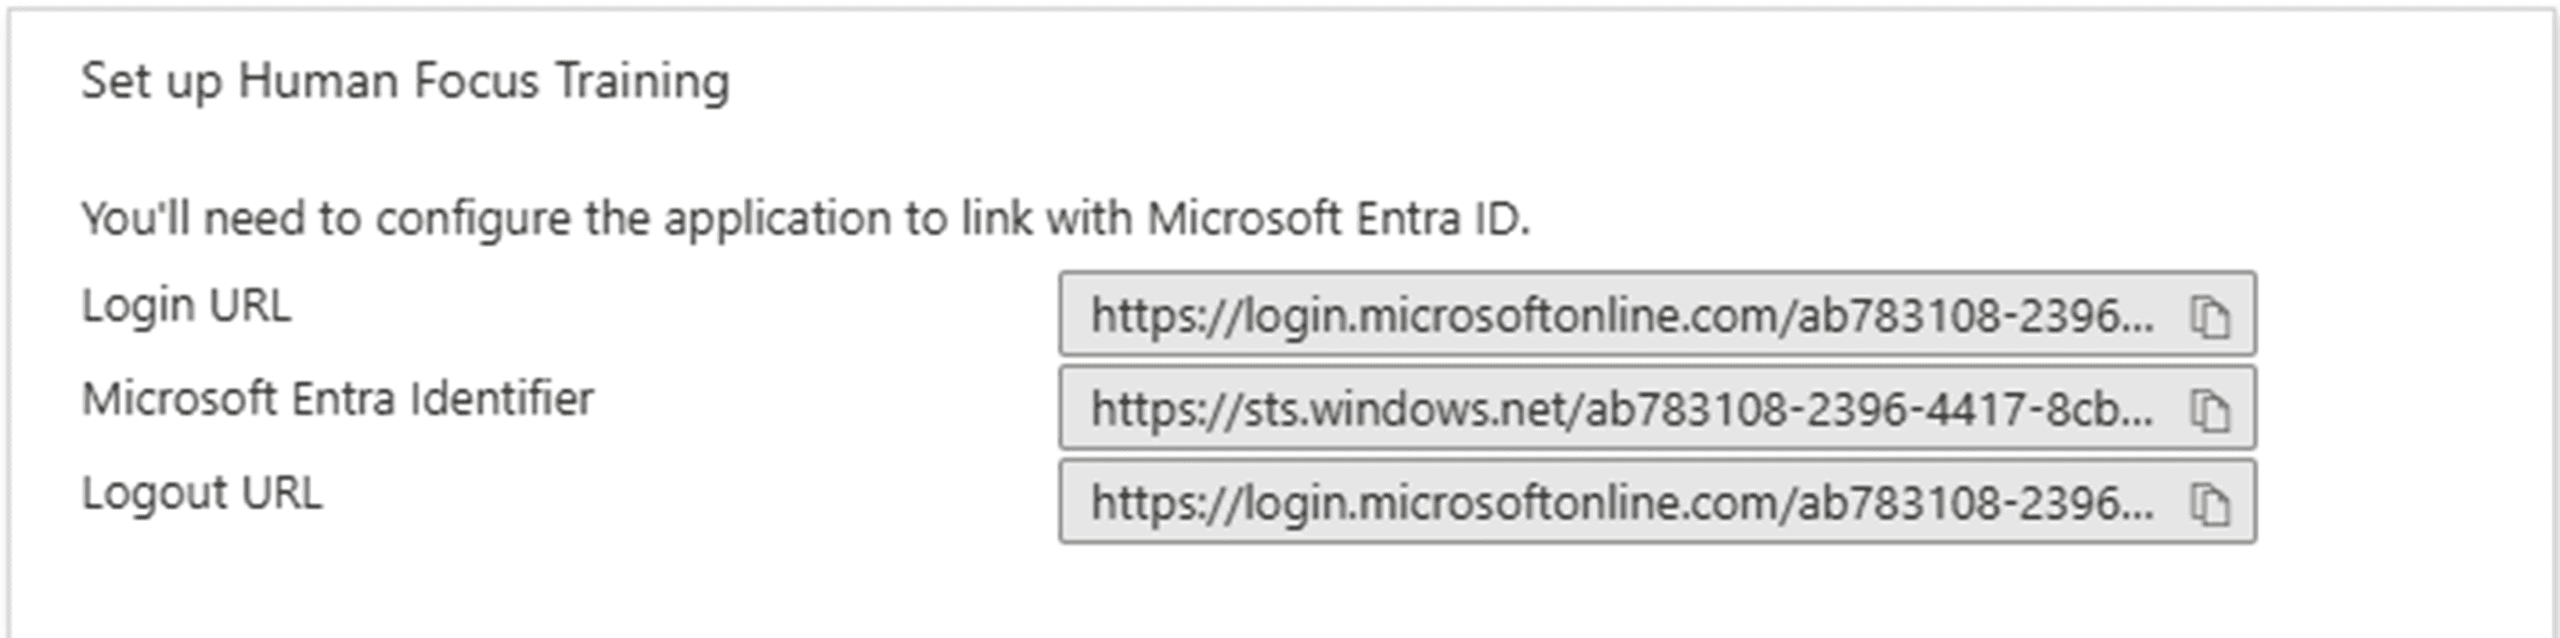
Under the Set up section, you will find important data, such as Login URL, Microsoft Entra Identifier, and Logout URL of your Microsoft Entra app. This data need to be sent to Human Focus